
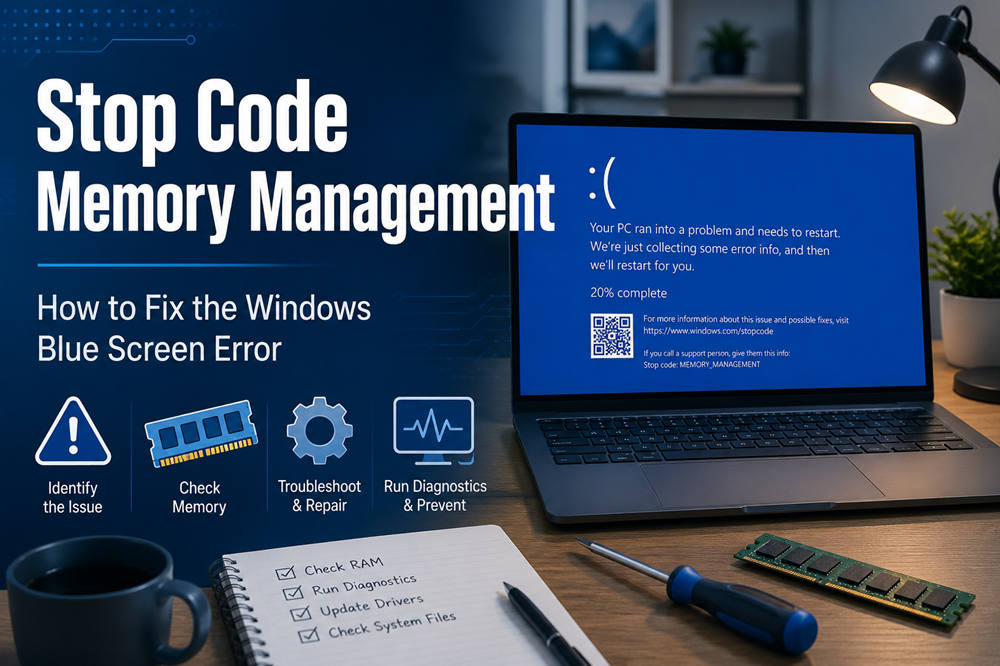
How to Fix the Stop Code Memory Management Error in Windows
The MEMORY_MANAGEMENT stop code appears when Windows detects a serious problem while handling system memory. It often causes a blue screen, an unexpected restart, or repeated crashes.
Faulty RAM can trigger this error, but it is not the only possible cause. Damaged system files, unstable drivers, storage errors, overheating, and overclocking can create similar problems.
Before trying major repairs, back up any important files you can still access. Then work through the following fixes in order, checking whether the blue screen returns after each step.
What Does the Memory Management Stop Code Mean?
The Windows MEMORY_MANAGEMENT error is associated with bug check 0x0000001A. It means Windows found a serious problem while managing data used by the operating system, applications, and hardware.
Although the message mentions memory, the problem may involve:
- Faulty or loose RAM
- Corrupted Windows files
- An incompatible device driver
- Storage-drive errors
- Recently installed hardware
- Unstable XMP, EXPO, or overclocking settings
- Overheating
- Motherboard or power problems
The stop code does not identify the exact cause by itself. Troubleshooting usually involves ruling out the most common problems first.
1. Restart the Computer and Watch for a Pattern
An isolated blue screen may be caused by a temporary driver or software failure. Restart the computer and see whether it works normally.
If the error appears again, note what was happening before the crash. For example:
- Did it happen while gaming?
- Did it begin after a Windows or driver update?
- Did you install new RAM or another component?
- Does it happen only when opening a certain program?
- Does the computer also freeze, overheat, or restart without warning?
A repeated pattern can help you identify whether the issue is connected to a driver, application, or hardware component. Microsoft’s guide to troubleshooting Windows stop-code errors also recommends checking recent changes and removing newly added hardware when crashes continue.
2. Undo Recent Hardware or Software Changes
Think about anything you installed shortly before the problem began.
This might include:
- New RAM
- A graphics card
- An SSD or hard drive
- A USB device
- A docking station
- A new application
- Antivirus or system-optimization software
- A graphics, chipset, or storage driver
Disconnect nonessential external devices and restart the computer. If you recently installed an internal component, remove it temporarily only if you are comfortable opening the device.
When the computer becomes stable after removing something, reconnect or reinstall items one at a time. This makes it easier to identify the source of the problem.
3. Update Windows and Important Drivers
Windows updates may include fixes for system crashes, hardware compatibility problems, and unstable drivers.
Open:
Settings > Windows Update > Check for updates
Install the available updates and restart the computer. Microsoft provides additional guidance on how to install Windows updates.
You can also check Advanced options > Optional updates for available driver updates.
Pay particular attention to drivers for:
- Graphics cards
- Motherboard chipsets
- Storage controllers
- Network adapters
- Recently installed devices
Use Windows Update or the official support page for your computer or component manufacturer. Windows can download recommended hardware drivers through Windows Update, including some drivers listed under optional updates.
Avoid third-party driver-update tools, since they may install incorrect or unnecessary drivers.
If the blue screens started immediately after a driver update, try rolling it back:
- Right-click the Start button.
- Open Device Manager.
- Find the affected device.
- Right-click it and select Properties.
- Open the Driver tab.
- Select Roll Back Driver, if available.
Restart the computer and check whether the error returns.
4. Run Windows Memory Diagnostic
Windows includes a built-in tool that checks your physical RAM for errors.
To run it:
- Open the Start menu.
- Search for Windows Memory Diagnostic.
- Select Restart now and check for problems.
- Allow the computer to restart and finish the test.
For a deeper scan, press F1 while the diagnostic screen is open and select the extended test. This takes longer but performs a more thorough memory check. Microsoft’s Windows Memory Diagnostic instructions explain the standard and extended testing options.
After the test, Windows should display the result when you sign in. If no message appears, you can find it manually:
- Right-click the Start button.
- Open Event Viewer.
- Expand Windows Logs.
- Select System.
- Choose Find from the right-hand panel.
- Search for MemoryDiagnostics-Results.
If the test reports hardware errors, the RAM may be failing, poorly installed, incompatible, or running at unstable settings.
A test that finds no problems does not completely rule out an intermittent memory failure, but it makes faulty RAM less likely.
5. Repair Windows System Files
Corrupted system files can cause blue screens and other unexpected behavior. Windows provides two tools for checking and repairing these files.
Open Command Prompt, PowerShell, or Windows Terminal as an administrator.
Run this command first:
DISM.exe /Online /Cleanup-Image /RestoreHealth
Wait until the process finishes. It may appear to pause at certain percentages, so do not close the window.
Next, run:
sfc /scannow
The System File Checker tool scans protected Windows files and replaces damaged versions when possible. Microsoft recommends running DISM before SFC so the files needed for the repair are available.
Restart the computer after both commands have finished.
6. Check the Windows Drive for Errors
Problems with the system drive can damage or interrupt the data Windows loads into memory.
Open an administrator Command Prompt and run:
chkdsk C: /scan
This checks the Windows drive while the system is running.
If Windows finds errors that require repair, run:
chkdsk C: /f
You may be asked to schedule the repair for the next restart. Type Y, press Enter, and restart the computer.
The CHKDSK command checks a drive’s file system and related metadata for logical and physical errors.
Back up your files as soon as possible if the drive:
- Makes clicking or grinding noises
- Disappears from Windows
- Becomes unusually slow
- Produces repeated file errors
- Fails health checks
- Prevents Windows from starting
These symptoms can point to a failing drive rather than a simple software problem.
7. Turn Off Overclocking, XMP, or EXPO
Overclocking can make a computer unstable even if it seemed to work normally before.
Enter your BIOS or UEFI settings and temporarily return the CPU, RAM, and other components to their default settings. Disable:
- CPU overclocking
- GPU overclocking
- Undervolting
- XMP memory profiles
- EXPO memory profiles
XMP and EXPO allow RAM to run at higher advertised speeds, but those settings are not stable on every motherboard and processor combination.
Use the computer at its default settings for a while. If the blue screens stop, the memory speed, voltage, BIOS version, or overclock may have been responsible.
8. Reseat and Test the RAM
Try this step only if you are comfortable opening your computer.
Shut the computer down, disconnect the power cable, and follow proper antistatic precautions. Remove the RAM modules and reinstall them firmly in the recommended slots.
If you have more than one module, test them individually:
- Install one RAM module.
- Start the computer and use it normally.
- Repeat the test with each remaining module.
- Try different motherboard slots when appropriate.
If the system crashes with one module but works with another, the first module may be faulty. If every module fails in one particular slot, the motherboard slot could be the problem.
Check your motherboard or computer manual before changing the RAM arrangement. Many systems require memory to be placed in specific slots.
Do not open a laptop if the RAM is soldered, difficult to reach, or covered by warranty restrictions.
9. Check for Overheating
Excessive heat can cause crashes that look like memory problems, especially during gaming, video editing, or other demanding tasks.
Check that:
- Air vents are clear
- Fans are spinning properly
- Dust is not blocking the cooling system
- A laptop is placed on a firm surface
- The CPU and GPU are not reaching unusually high temperatures
- The computer has enough airflow
Shut the computer down before cleaning it. Use compressed air carefully and avoid touching internal components unless necessary.
If the computer becomes very hot, shuts down under load, or has fans running at full speed constantly, the cooling system may need professional attention.
10. Use System Restore or Remove a Recent Update
If the error began after a software or driver change, System Restore may return Windows to an earlier working state.
Search for Create a restore point, open it, and select System Restore. Choose a restore point created before the blue screens began.
System Restore normally keeps personal files, but it may remove recently installed applications, updates, and drivers.
You can also remove a recent Windows update:
- Open Settings.
- Select Windows Update.
- Open Update history.
- Select Uninstall updates.
- Remove the update that appears connected to the crashes.
Only remove an update when the problem started directly after it was installed.
What to Do If Windows Will Not Start
If Windows repeatedly crashes during startup, use the Windows Recovery Environment. It includes several built-in tools for repairing startup and system problems.
From the recovery screen, select:
Troubleshoot > Advanced options
You may see options such as:
- Startup Repair
- Startup Settings
- System Restore
- Uninstall Updates
- Command Prompt
To enter Safe Mode, open Startup Settings, select Restart, and choose a Safe Mode option. Microsoft provides the complete path and available choices in its guide to Windows startup settings.
Safe Mode starts Windows with only essential files and drivers. If the computer works normally in Safe Mode, a third-party application, startup service, or device driver may be responsible.
Startup Repair may help when damaged system files, boot files, or configuration settings are preventing Windows from loading.
When Is Bad RAM the Likely Cause?
RAM becomes a stronger suspect when:
- Windows Memory Diagnostic reports errors
- The computer crashes with one specific module installed
- The system becomes stable after removing or replacing a module
- Crashes began immediately after installing new RAM
- The RAM is not listed as compatible with the motherboard
- Turning off XMP or EXPO stops the crashes
Random freezes, file corruption, and different blue-screen codes can also occur with bad RAM. However, those symptoms may also be caused by a failing drive, unstable drivers, overheating, or motherboard problems.
When to Get Professional Help
Consider professional repair when:
- Windows will not start
- Memory tests repeatedly report errors
- The RAM is soldered to the motherboard
- The computer overheats or shuts down unexpectedly
- You suspect a motherboard or power-supply problem
- The crashes continue after Windows has been repaired or reinstalled
- Important files have not been backed up
- You are not comfortable opening the computer
A technician can test the RAM, storage drive, motherboard, processor, and power supply with known working components. They may also examine Windows crash-dump files to identify the driver or hardware involved.
The MEMORY_MANAGEMENT stop code does not always mean the RAM has failed. Start by undoing recent changes, updating Windows and drivers, running the memory test, and repairing system files. If those steps do not help, check the drive, disable overclocking, and test the RAM modules individually.